
Kev’s Castle shows you how to install a Mail Boss Mailbox & post in concrete with this DIY instructional video:

How Kevin from Kev’s Castle Secured His Mail with Mail Boss
We here at Mail Boss, love to see our customers happy and satisfied with their mailboxes. That’s why we were thrilled to watch Kevin from Kev’s Castle, a YouTube channel that shows you how to do various DIY projects around your home, install our Mail Manager Street Safe mailbox and post in concrete. Kevin did a great job of demonstrating how easy and safe it is to install and use our mailbox, and we want to share his experience with you.
The Mail Manager Street Safe is a professional grade, high quality steel, anti-theft, vandal resistant, locking mailbox that protects your mail from mail theft, identity theft, and vandalism. It features a rear locking access door that allows you to retrieve your mail and parcels away from street traffic, ensuring your safety and privacy. It also has an innovative front baffle door that accepts mail bundles and small packages, and a patented anti-pry latch that prevents anyone from breaking into your mailbox. The Mail Manager Street Safe comes in a variety of colors, such as black, white, bronze, or granite, to match your home or neighborhood.

Kevin chose the Mail Manager Street Safe in black, and installed it with these simple steps:
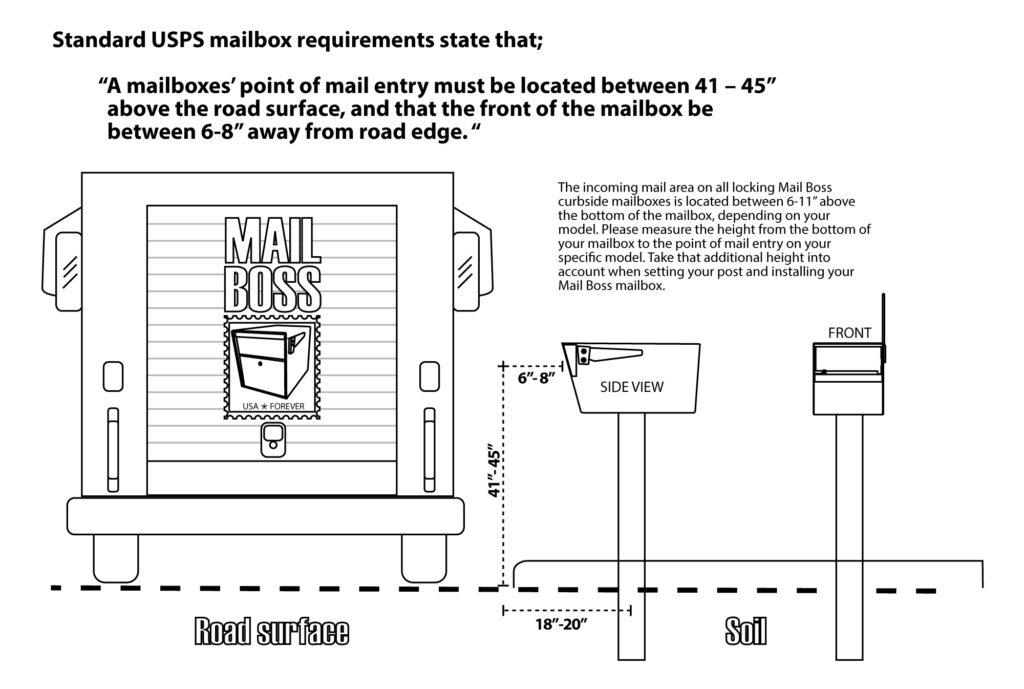
Step 1: Dig a Hole for the Post
Kevin used a post hole digger, shovel, a tape measure, and a level, to dig a hole for the post. The hole was about 12 inches wide, and at least 17 inches away from the curb. Using the tape measure and level he ensured that the post was at the proper height from the street before proceeding to the next step.
Step 2: Mix and Pour the Concrete

Kevin used some quick-setting concrete and poured the concrete directly into the hole. He followed the instructions on the concrete package to mix the right amount of water, then inserted the post into the hole and used a level to make sure it was straight and plumb. He then braced the post with some 2 x 4’s and a clamp and then let the concrete cure for at least 24 hours before attaching the mailbox.
Step 3: Attach the Mailbox to the Post
Kevin then used a socket set to attach the mailbox to the post. Once the mailbox was attached, he inserted the keys and locked the mailbox.
Step 4: Enjoy your Mail Boss Mailbox

Kevin was thrilled with his new mailbox install, and so were we. We want to thank Kevin for choosing Mail Boss and for sharing his installation video with us. If you want to watch more of his videos, you can find them on his YouTube channel, Kev’s Castle. You can also follow his blog CastleRemodel for more DIY tips and tricks. And if you want to install a Mail Manager Street Safe mailbox for yourself, you can find everything you need (and more) below. Thanks for reading and good luck with your installation!
-
 Mailbox Post Depth Extender$50.00
 -
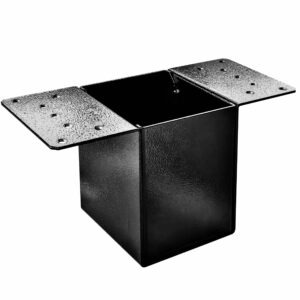 Mailbox Post Height ExtenderStarting at $45.00
 -
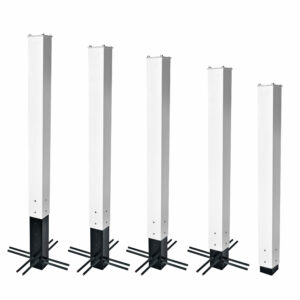
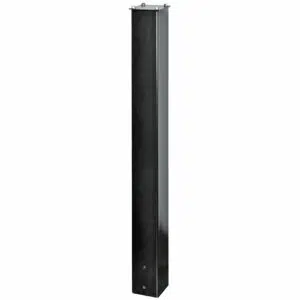 In Ground Post (43″)Starting at $79.99
 -
 Mail Manager® Street SafeStarting at $139.99
 -
 Newspaper HolderStarting at $59.00